Showing posts with label yarn. Show all posts

Monday, March 12, 2018

wip: Fuzzy Lamb and some other stuff


Whew, it's been a while!  I've been busy teaching classes, running a busy shop, trying to catch up on paperwork (ARGH PAPERWORK), and training a new employee.  I'm definitely creating though.  My current favourite project is one I just started on Saturday, but that's been on my brain for a while now.

Current Projects
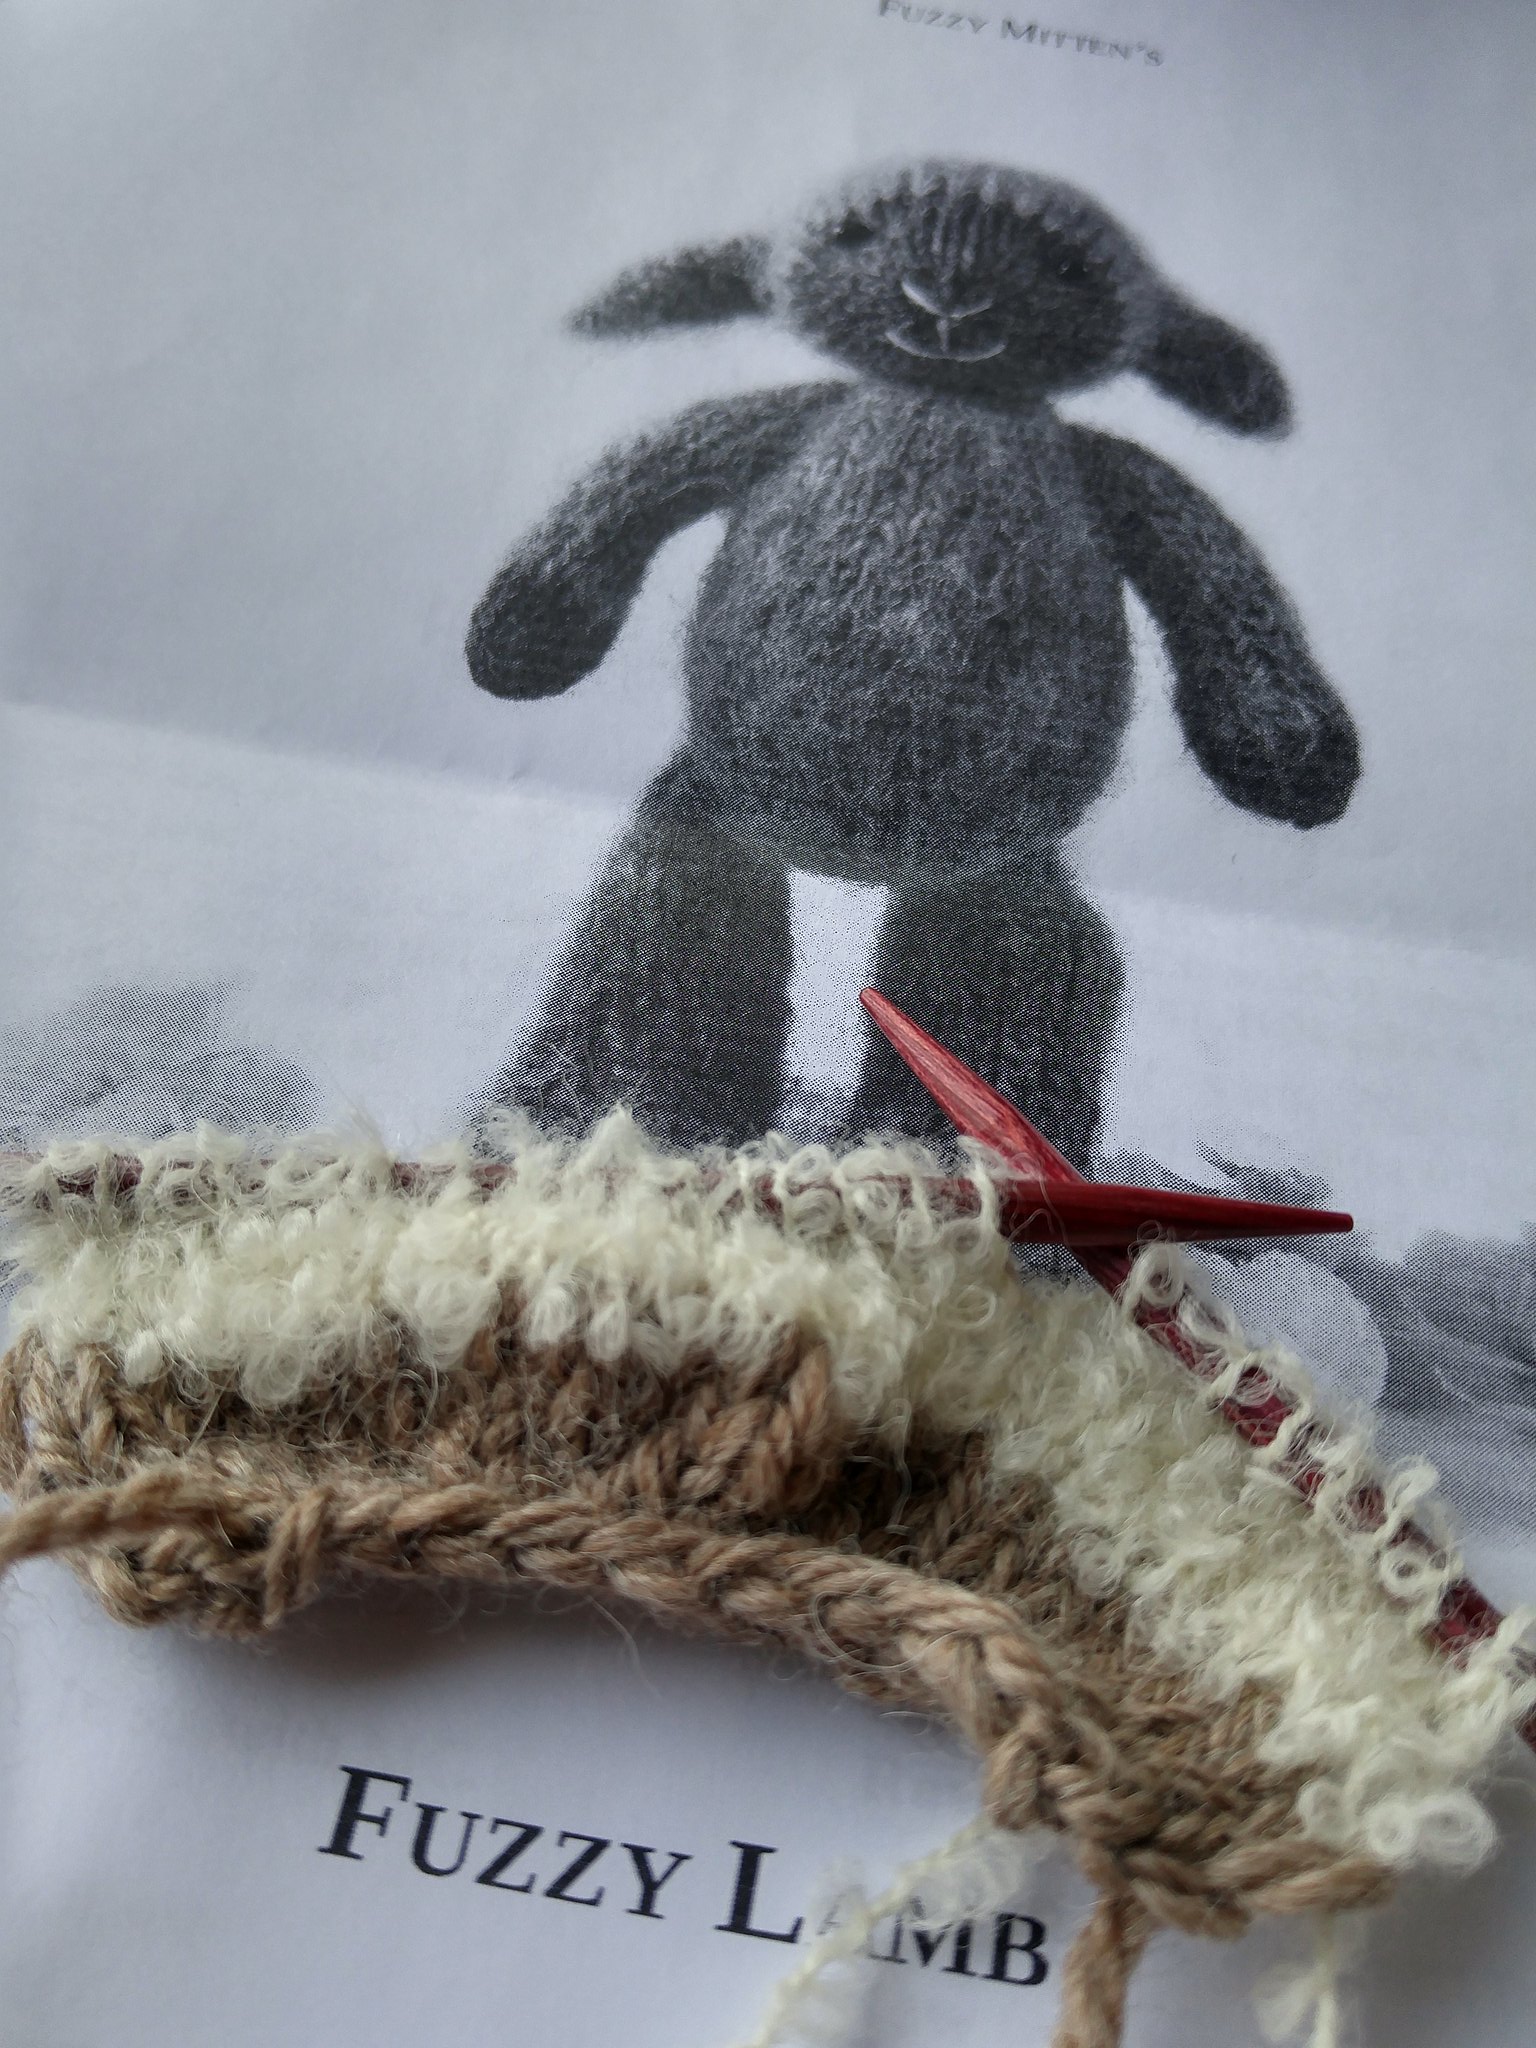
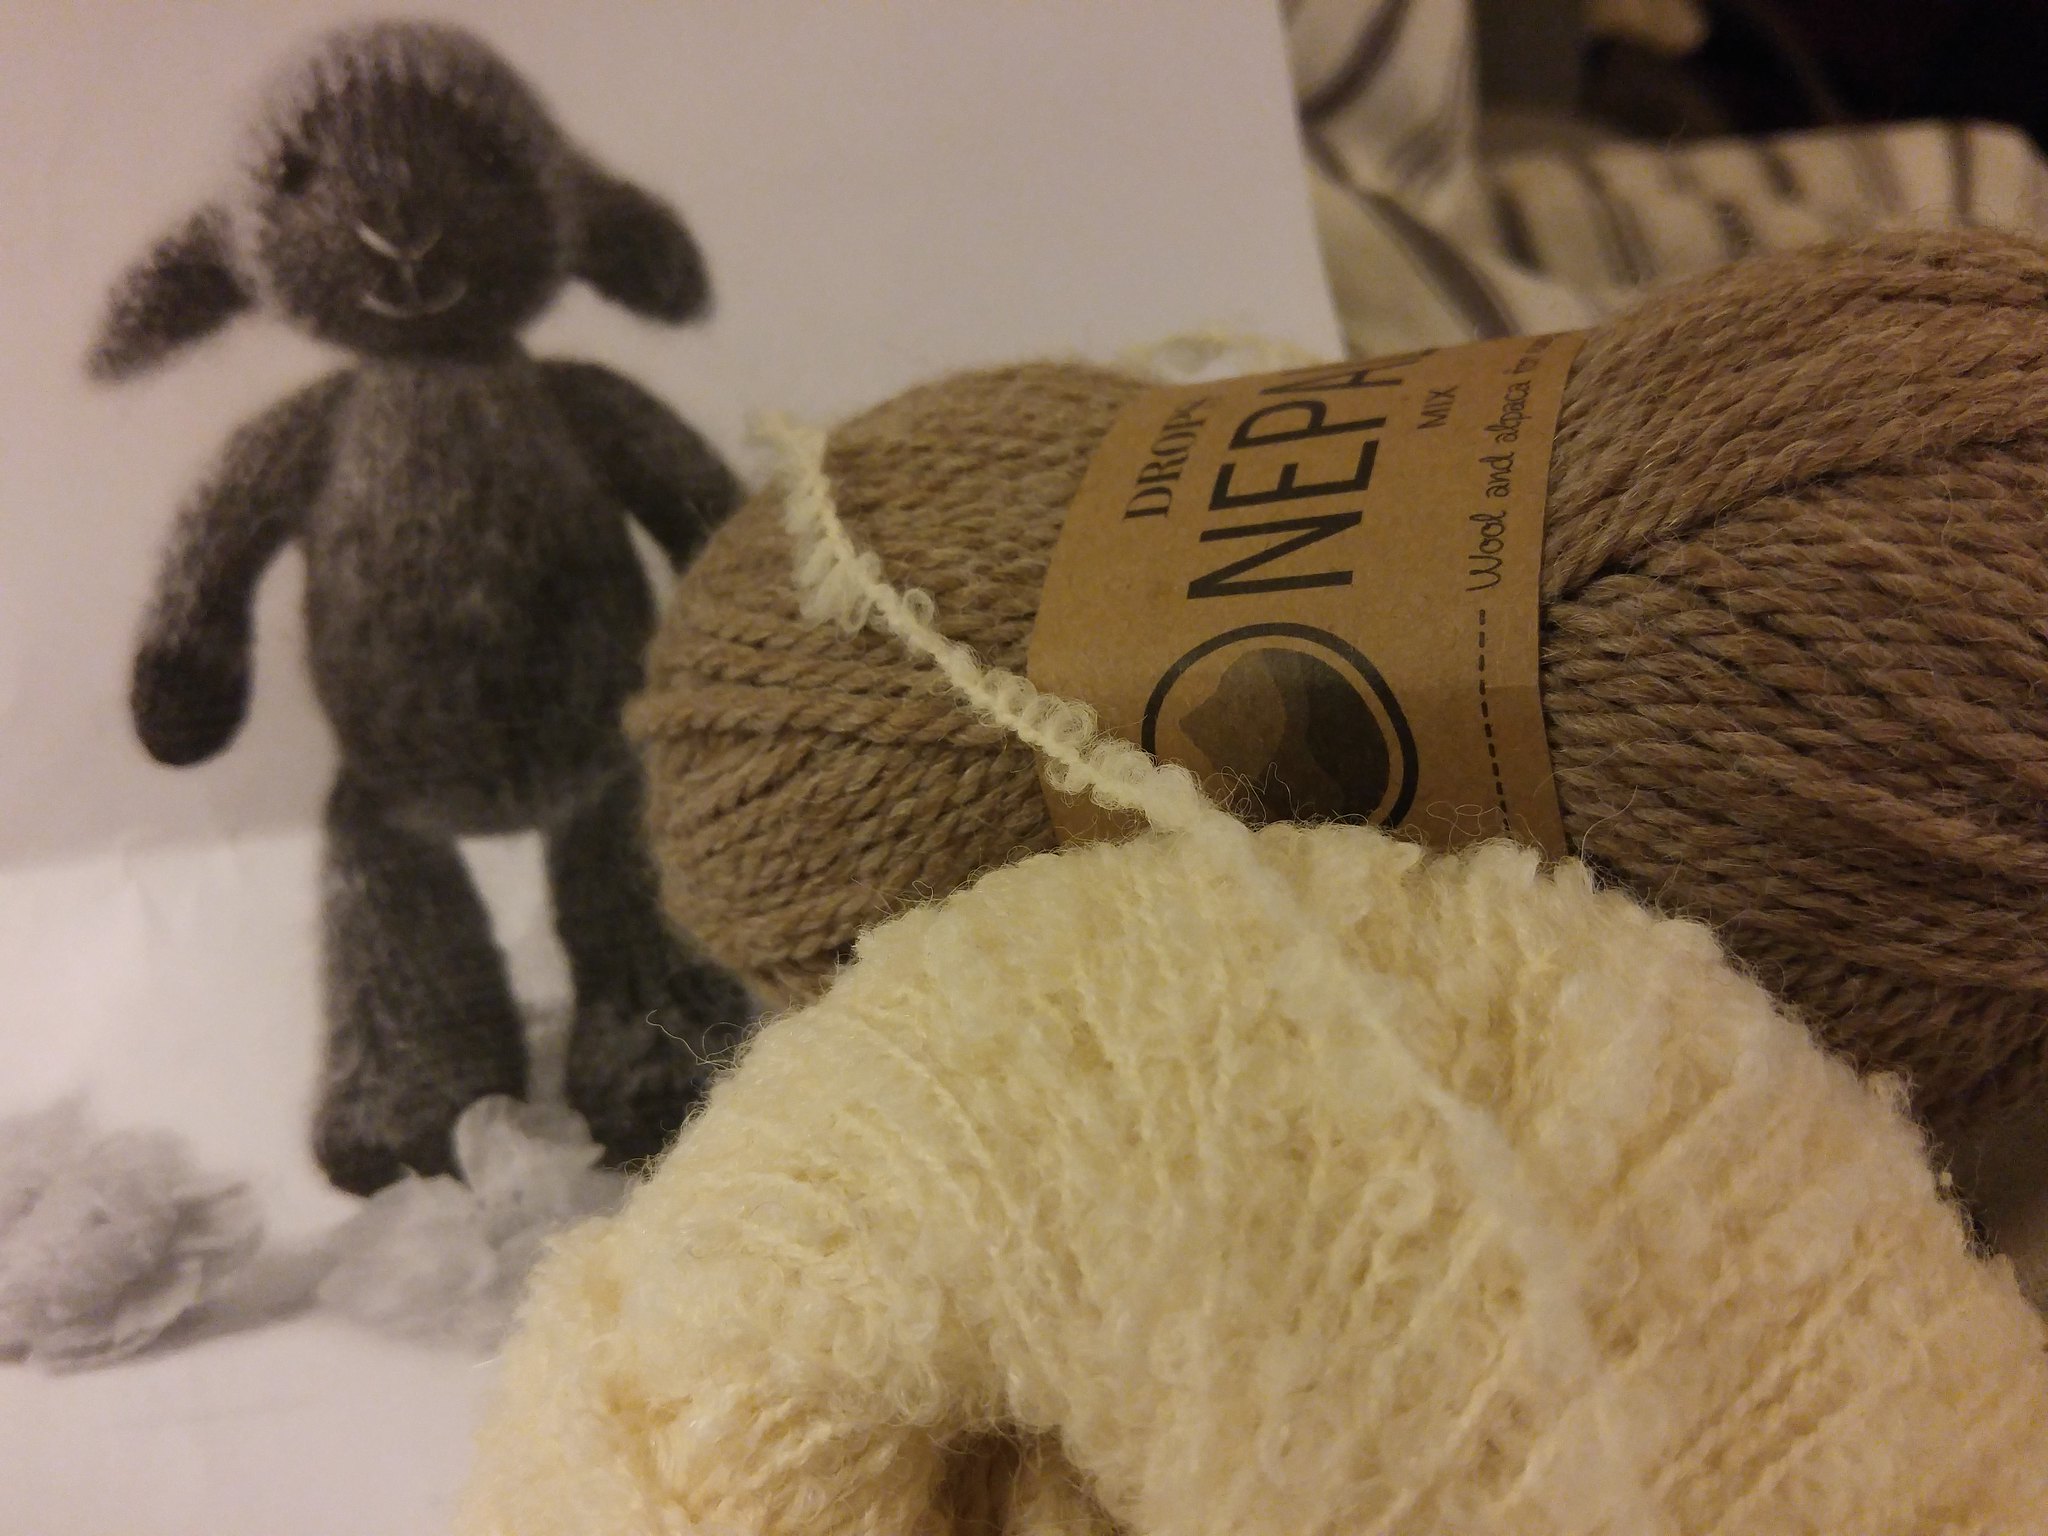
Fuzzy Lamb is a ridiculously adorable pattern by Fuzzy Mittens, and I've been itching to knit it ever since a customer came in looking for yarn to knit it a year ago.  When I opted to bring in Drops Alpaca Boucle, I knew I had to knit it up into this cute little lamb!

wip: Fuzzy Lamb
Though I have to tell you, the boucle is a nightmare to work with.  Cripes, I keep catching up those little loops, decreasing and increasing is a mess, and forget reading your fabric!  It's so ridiculously soft though, that it's worth the effort.

Current Projects
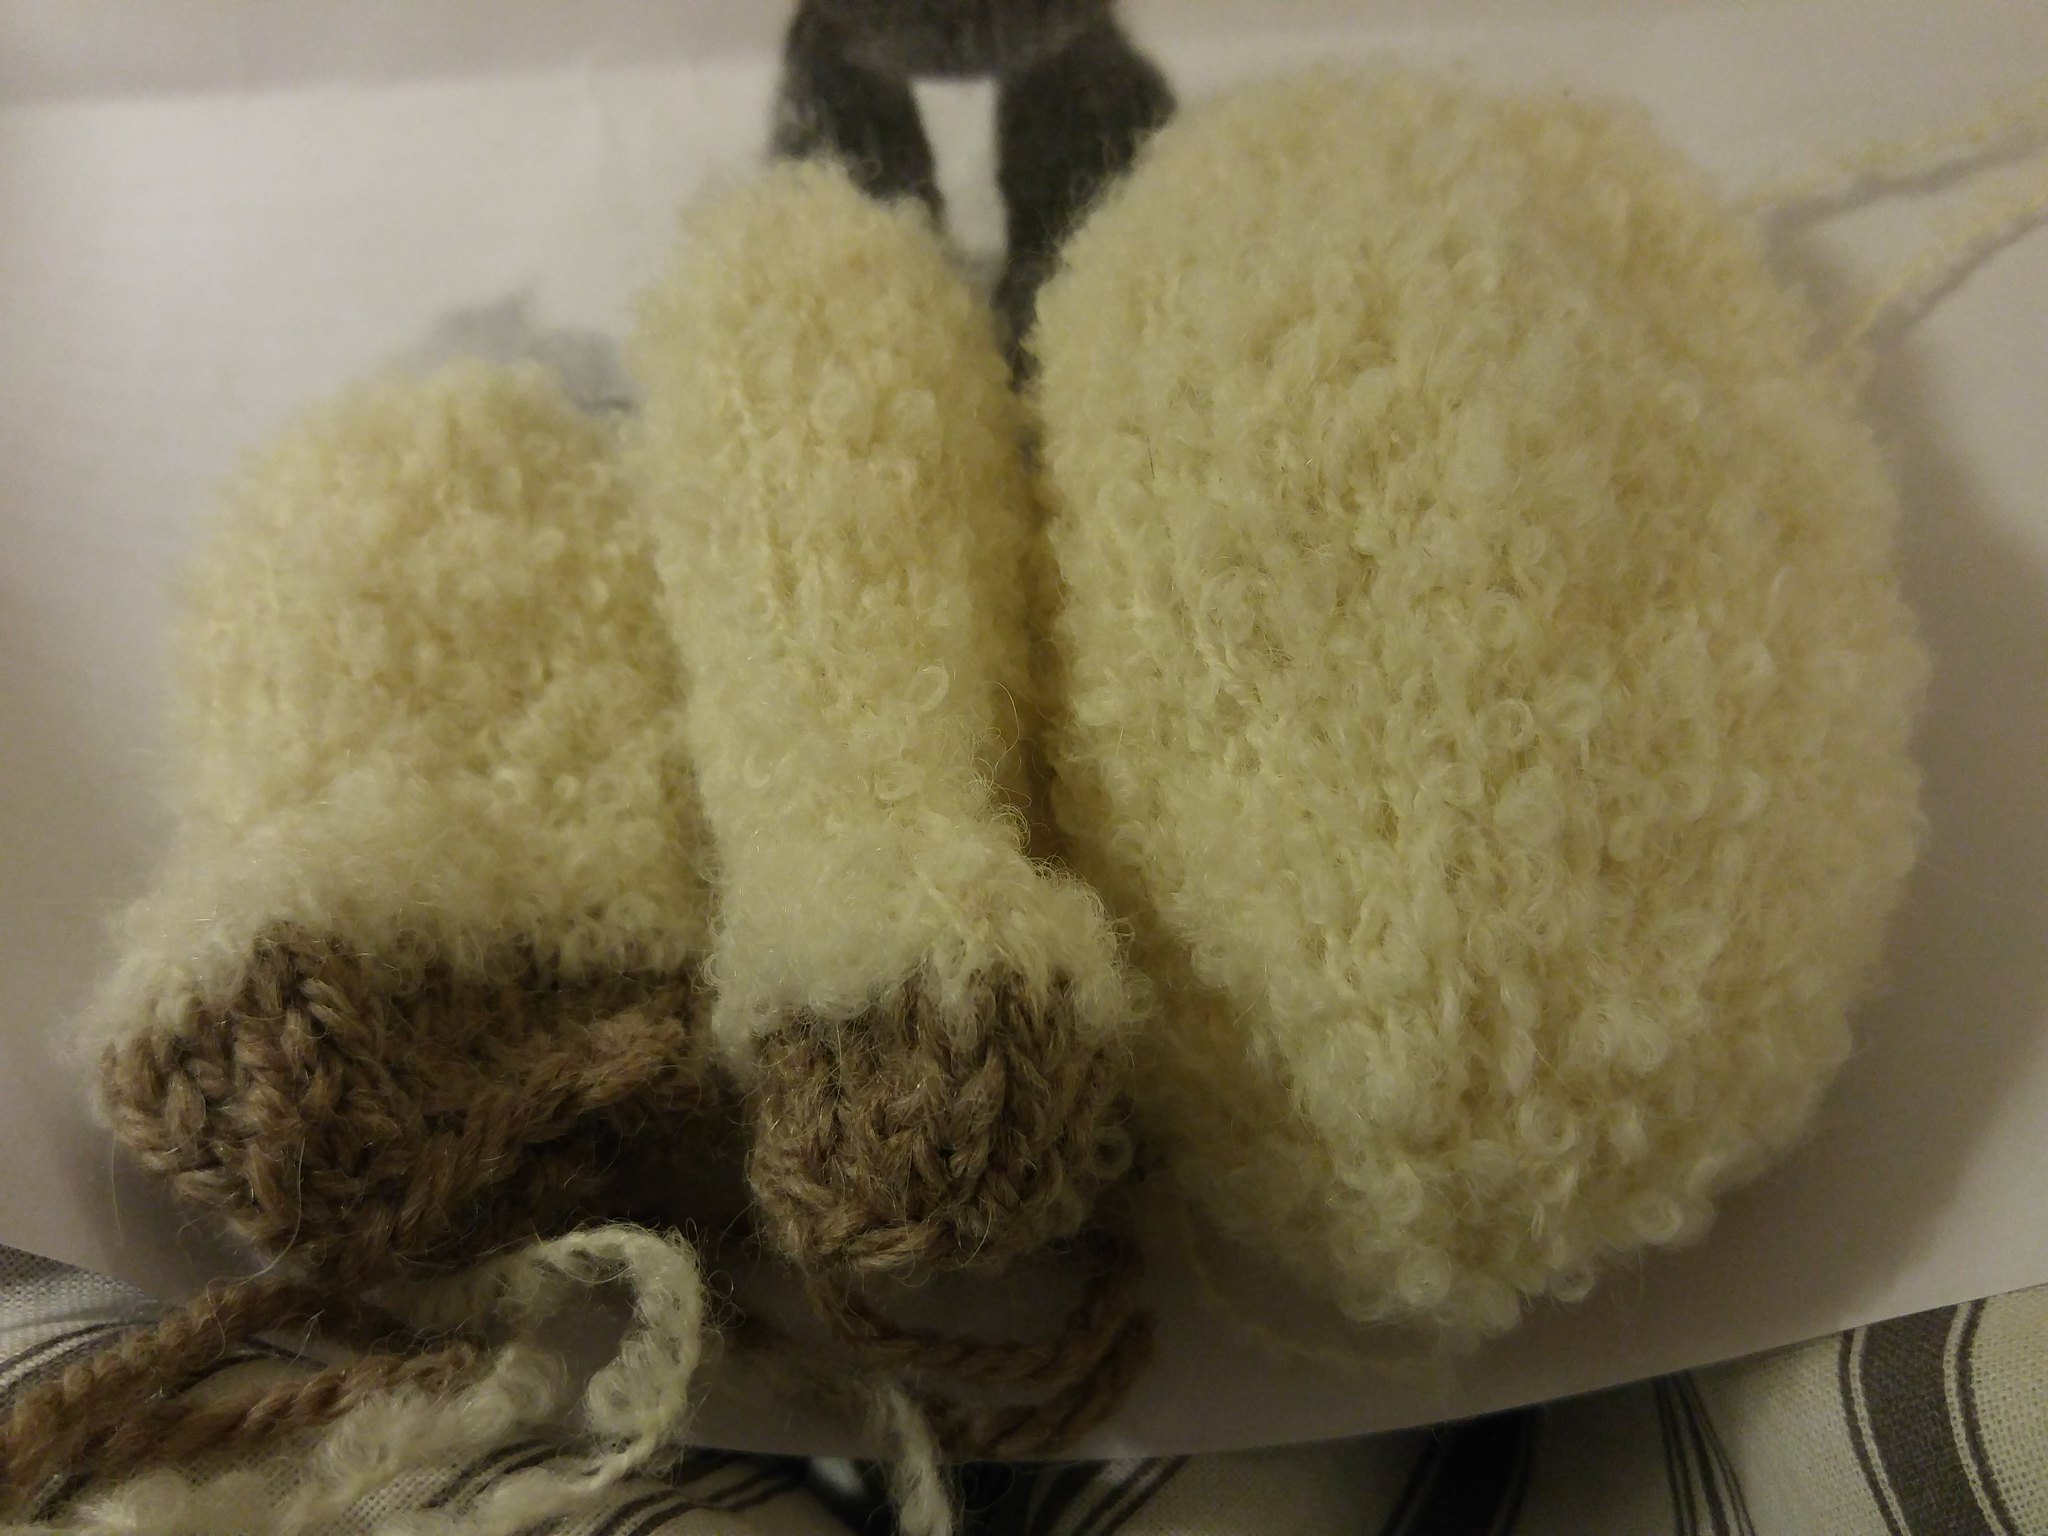
As you can see, I've got the body and legs done.  Two more limbs and a head, and I'll be able to start stuffing and sewing this adorable little stuffy.

Guys, I'm so stoked to have this little buddy in the shop.  I'm definitely going to have to knit a wee little sweater for it, and I can see working on a bunch of clothes and accessories for it.  EEEE so fun!

Current Projects
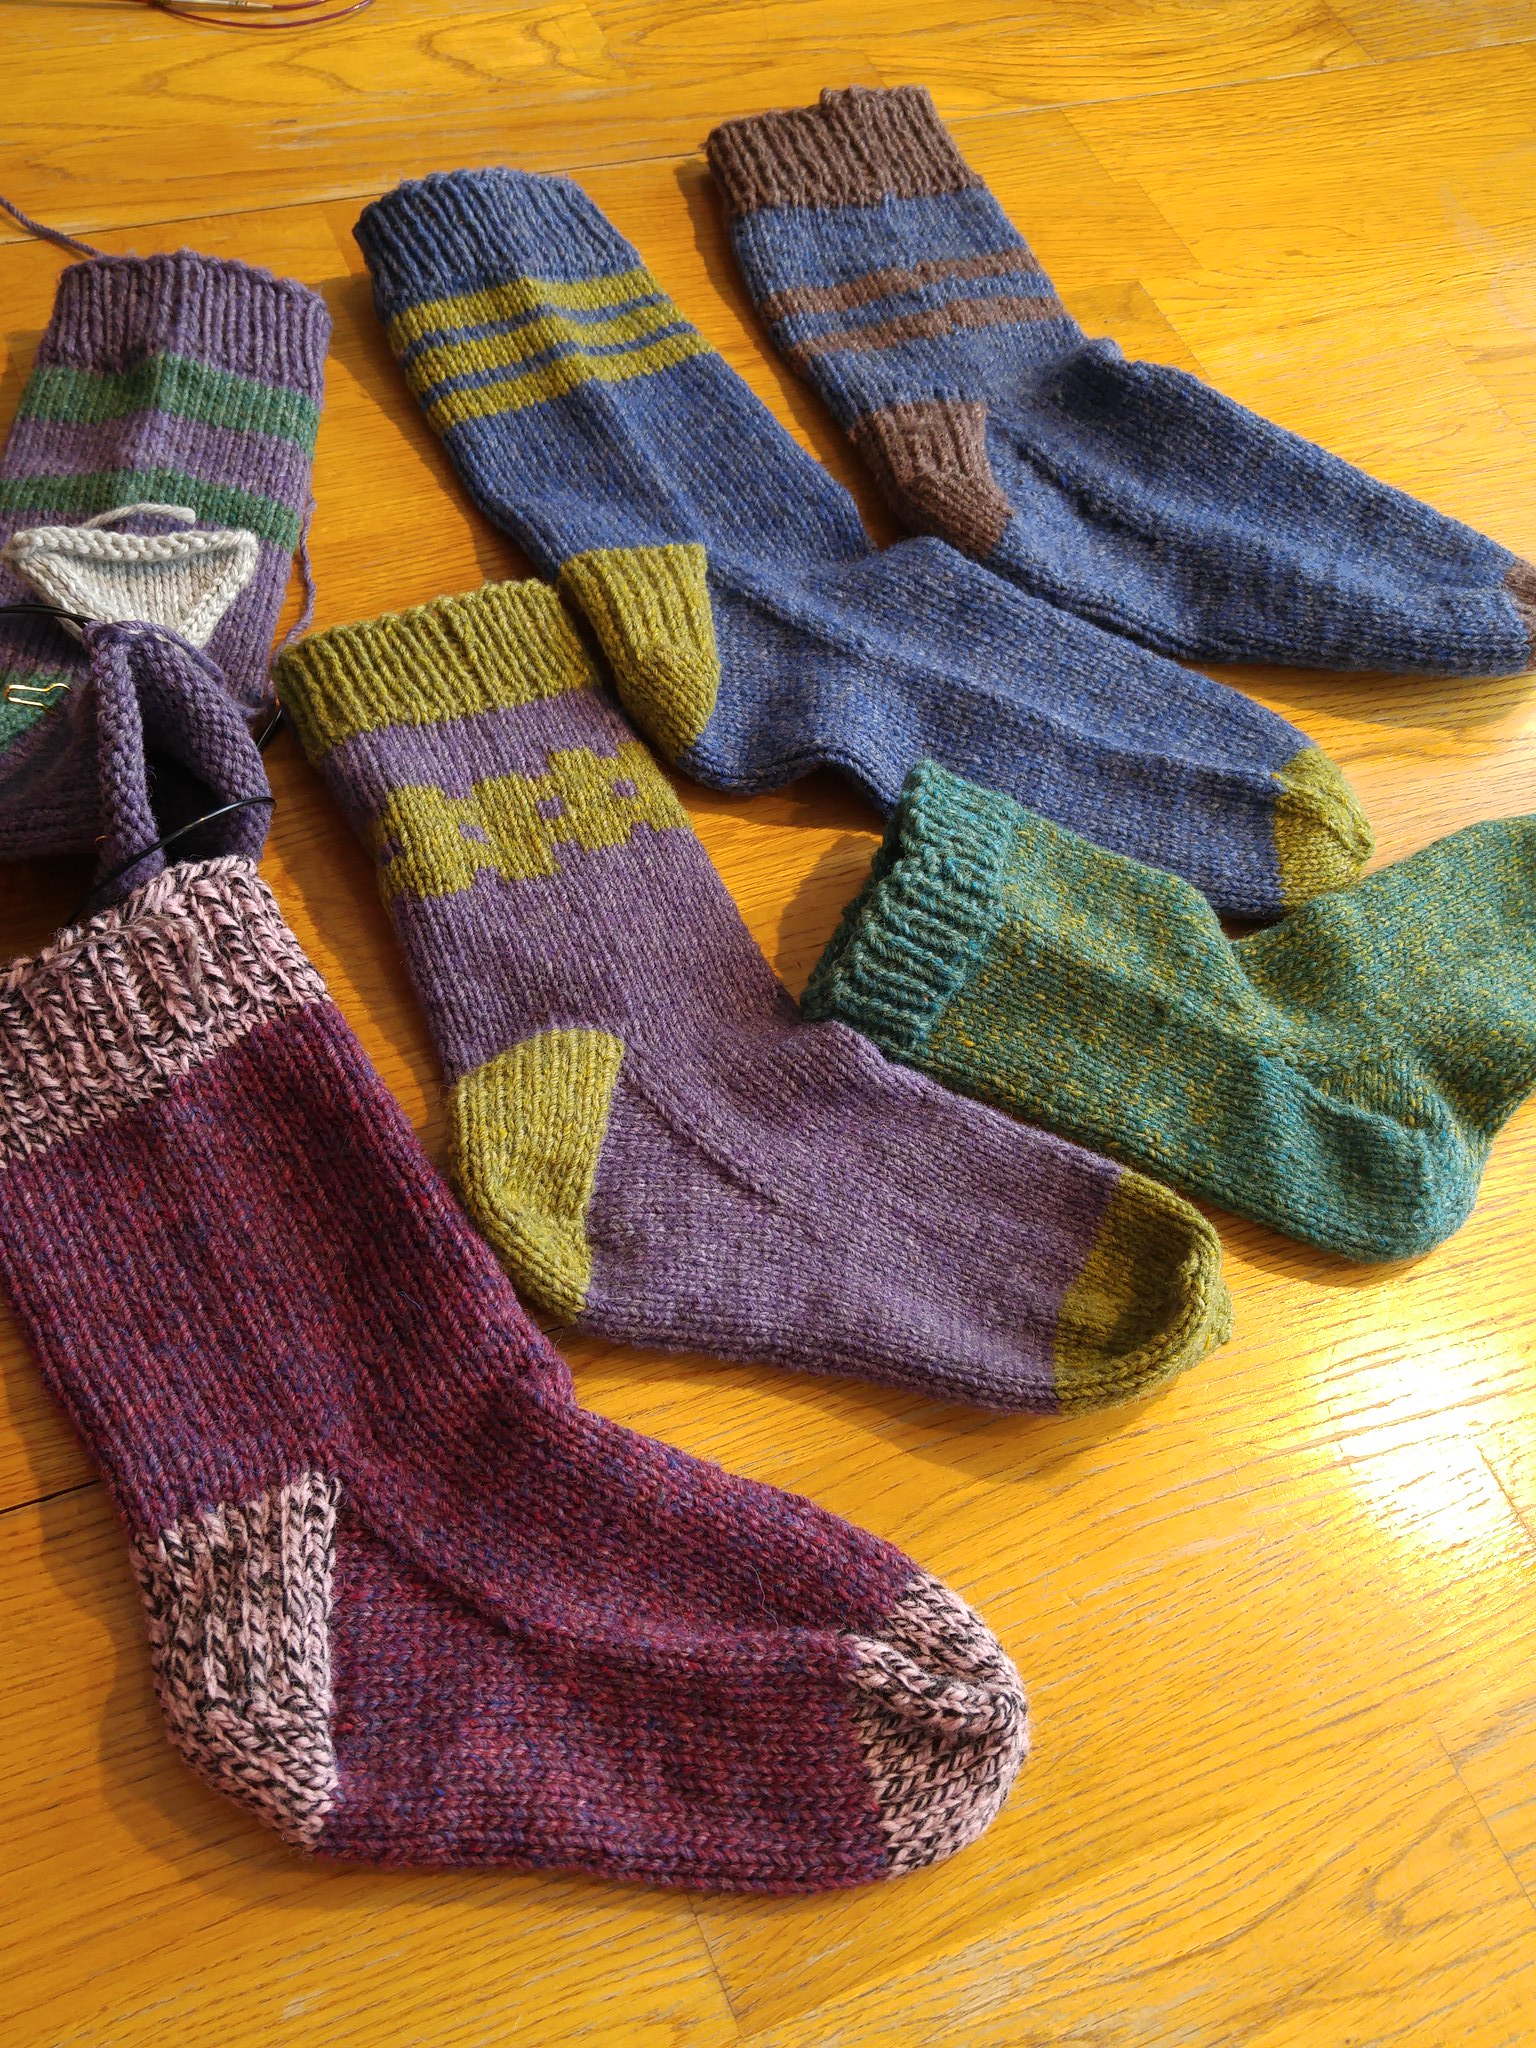
In other news, my sock class finished up this afternoon.  LOOK AT ALL THE SOCKS!  Almost everyone finished up at least one sock in the 3 week class, and a couple finished both today.  :)  I also finished up my pair, but I'll post about that another day, since I need to lengthen on and sew in about a thousand ends.

Current Projects
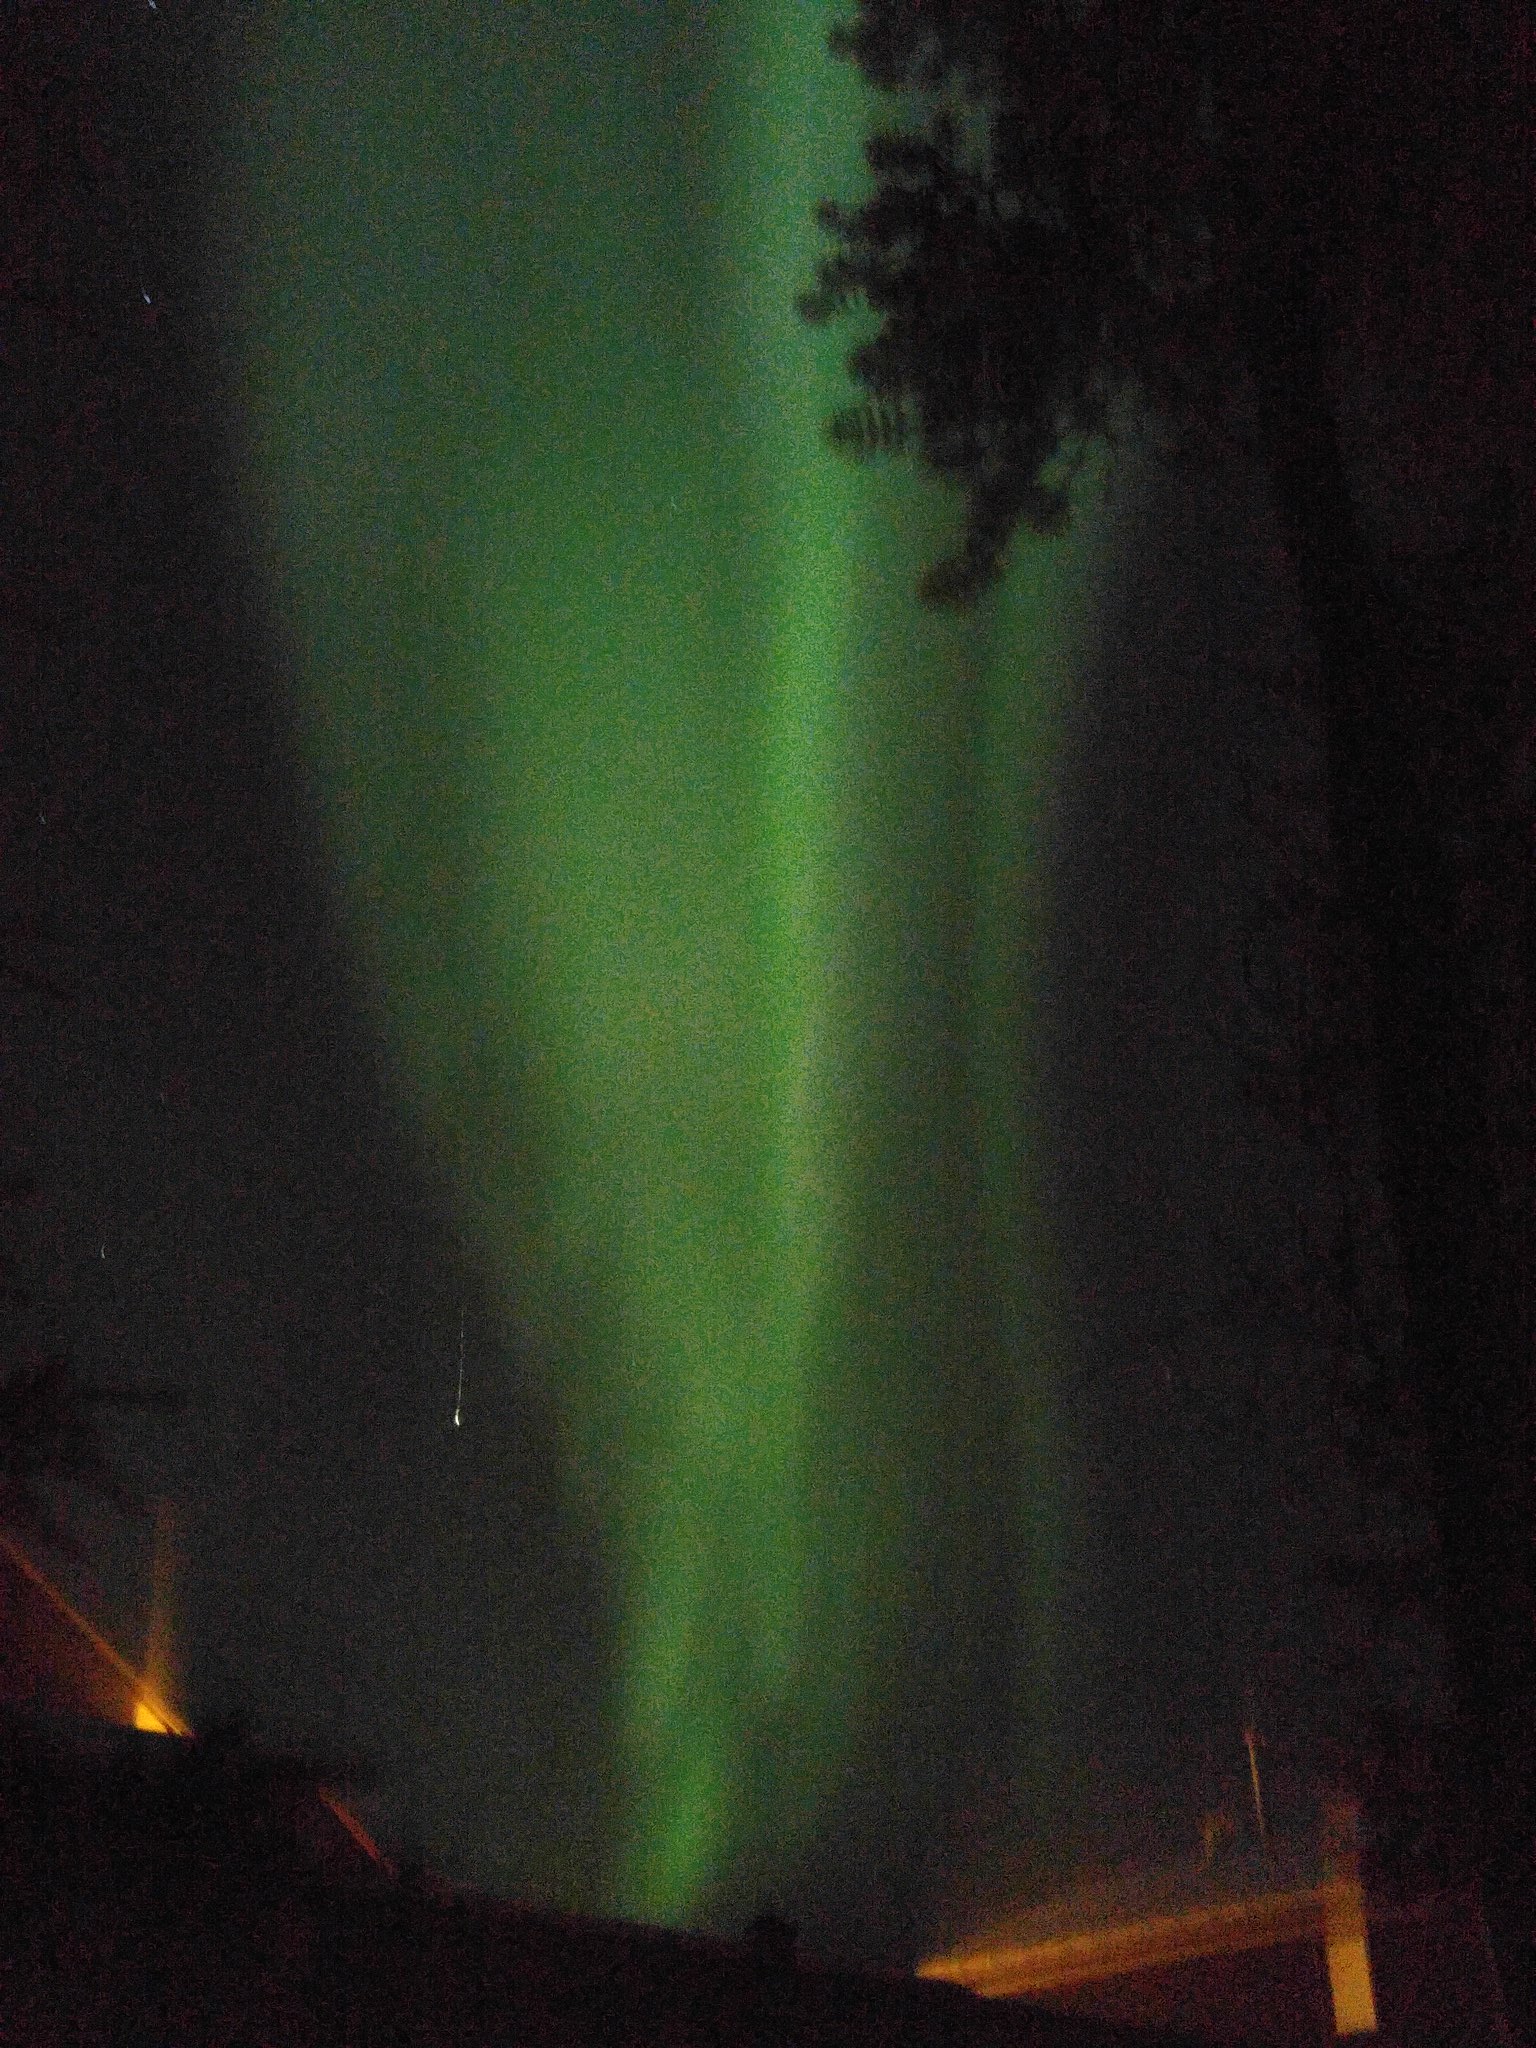
Also, Lady Aurora was stunning the other night, dancing right over-top of Whitehorse.  I should have driven up Grey Mountain for a view of the northern lights over the city, but instead I hoofed it down the path behind my house to get away from the streetlights and oogled the light through the trees.  Sorry for my crummy photo; I refused to deal with finding my good camera and just used my camera phone.

In a way, it's easy to forget how lucky we are here.  People make the trip north just to see the lights, and I often don't bother to go out to watch them.  But sometimes, you just need to go out and appreciate just how stunning our world is, and what beauty can be found, even in your backyard.

Ever seen the northern (or southern!) lights before?  I grew up watching them in Manitoba, but the displays are stunning up here.  You should definitely come up to see them (in the winter only - we don't even see the stars in the summer, with 20+ hours of daylight), and definitely pop in and say hello to me at my shop!  <3
Monday, June 19, 2017

Yarn Dyeing Experiment: Lupine

I've been plotting and planning to create my own line of naturally dyed yarn, and I'm now in the experimental phase.  I'm not going to go into too many details yet until I have a better feel of things, but I'm sure I'll share more here as I learn more.

Lupine Dyeing Experiment
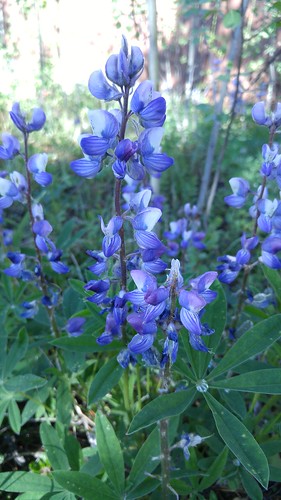
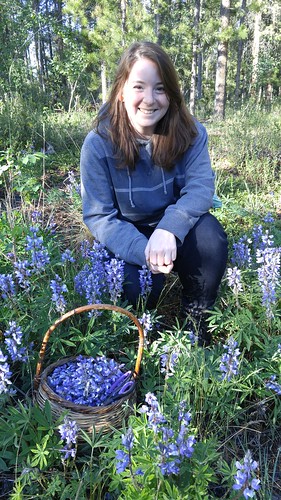
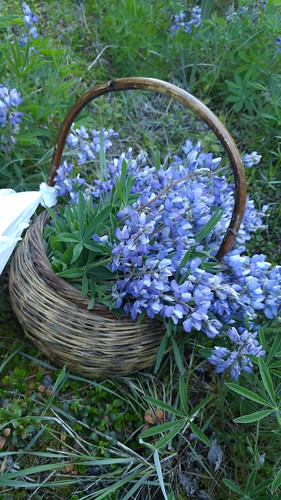
Today's post is about my first attempt at dyeing yarn with lupines.  They grow thick and beautiful here in the late spring/early summer.  I spent a lovely evening gathering a bunch of it the other night with a friend, and have gathered more since to freeze for future dyeing days.

Lupine Dyeing Experiment
I only collected the flower stalks, and used only the flowers for the dye bath.  If you had to guess what colour that would produce, you'd probably guess blue or purple.  You'd be wrong.

Lupine Dyeing Experiment Lupine Dyeing Experiment
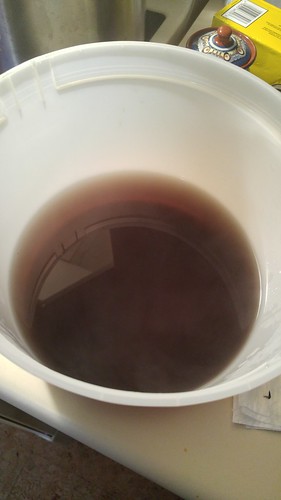
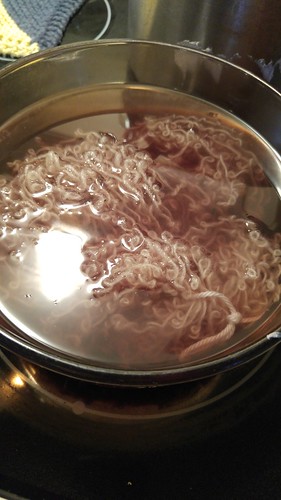
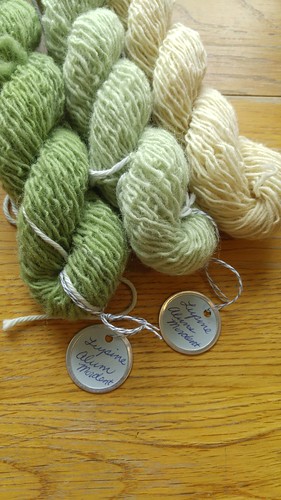
While the dye bath was a lovely burgundy/pink shade, the yarn initially came out looking a sad shade of greyish-green after steeping overnight.  I was disappointed, but figured I'd overdye it with something else.  I toss the first dip yarn into a bath with pH neutral wool wash and an extra skein into the dye bath to exhaust the dye.  I left for work and left it be.  When I got home, the exhaust bath yarn was a paler sad shade of greyish-green when I pulled it out and into a rinse bath.  So imagine my surprise when I reached into the wool wash bath and pulled out a skein of lime green yarn!

Lupine Dyeing Experiment
First dip yarn on left, exhaust bath yarn in middle, undyed yarn on right.
I'm not entirely sure what caused the change, but I suspect the soap adjusted the pH and affected the colour of the yarn.  The chemistry is fascinating!  I'm so happy with the results - even the exhaust bath yarn.

For a bit of background here, I used Briggs and Little Sport yarn, divided into 25 g skeins for experimentation.  I premordent the yarn with alum, with cream of tarter as an assist.  I forgot to rinse the yarn before moving it from the premordent pot to the dye bath, and I thought that was why the dye seemed so disappointing.  I suspect that my water isn't a pure as I'd like.  I'll probably have to get bottled water to get more control of my results.

Lupine Dyeing Experiment
I already have a couple baskets worth of yarn in the freezer for future dyeing!
I want to play a bit more with lupine, see what happens when I modify it with iron and copper solutions.  I can see this one making it into my final line of yarns.

Have you tried natural dyeing yet?  I'm fascinated with the chemistry behind it, and have been consuming all of the books I can on the matter.  Know of any good ones to recommend?

Wednesday, January 11, 2017

fo: Foxes and Fireweed - My First Handspun Project!

In November, a friend of mine taught a class at my shop.  Only one person had signed up and, despite having a list of things to do during the class approximately 1.6 km long, I abandoned it all to join the class.

What class was it, you ask?

First Handspun Project
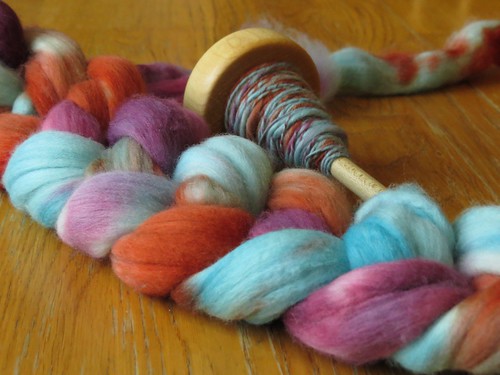
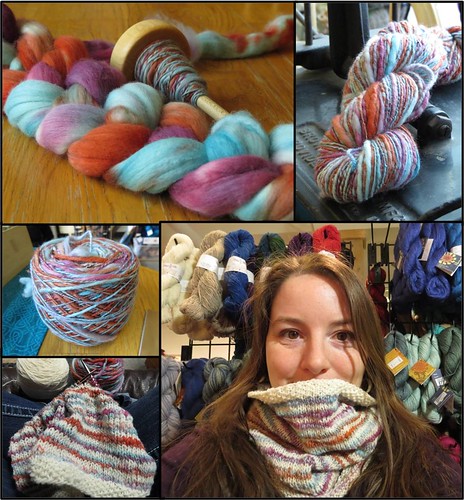
A drop spindle yarn spinning class!  I had so much fun learning a new skill, and I got a bit obsessive with it.  I wound up spending extra time at the shop - long after I should've gone home, spinning away on my little drop spindle.

First Handspun Project
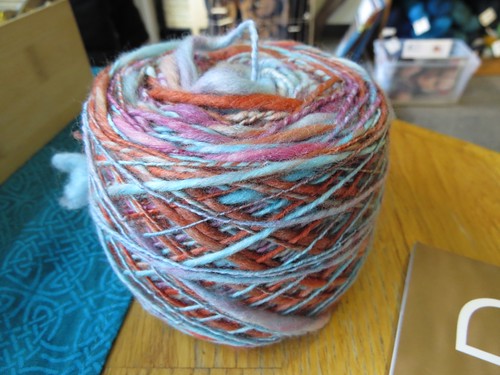
It didn't take long before I'd gotten the whole roving braid spun up into a single ply ball.  I'd considered plying it into a 2ply ball, but the yarn changed a lot from start to finish, from short colour changes, over-spun sections, and rapid extremes in yarn thickness, to long consistent colour lengths and generally more consistent yarn thickness (though I still had some really fat sections in it).

First Handspun Project
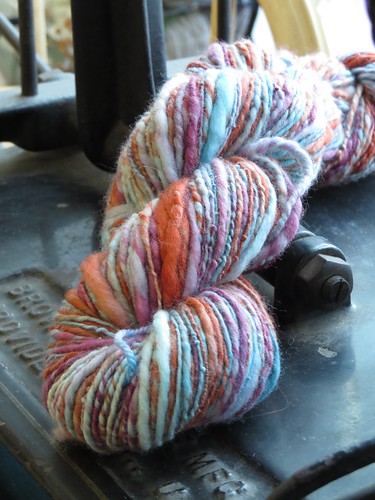
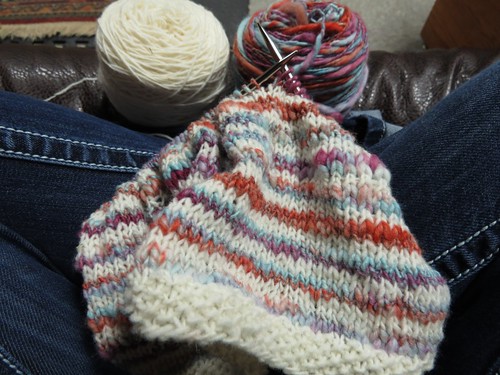
The yarn ranged from lace weight to super bulky everywhere - it was hilarious to knit up!  And yes, I knit it up immediately.  I wanted to spin some more, but I was itching to see how it knit up.

First Handspun Project
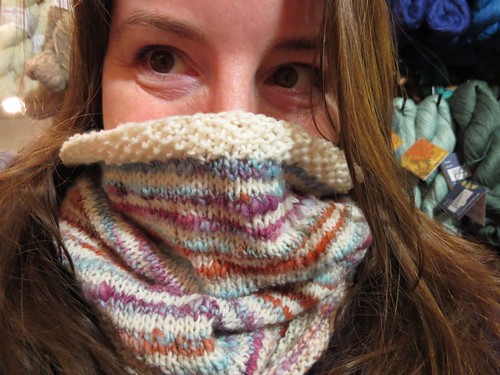
I decided on a simple cowl design and, pairing it with some Briggs and Little Lite n' Fancy in cream to ground the wackidoodle handspun, I knit a striped cowl with seed-stitch edges.  Here's the Ravelry project page, if you're curious. Folks, while my Northman Mittens are my absolute favourite knit of 2016, this cowl comes close to following it.  Probably because I'm seriously in love with my cooky handspun yarn and the lovely Briggs and Little yarn I paired it with.  I wear this thing almost daily - it's nice and warm on our freezing winter mornings, and the combination of yarns are super soft against even the most sensitive skin!  :D  SO DAMN PROUD OF MYSELF.

First Handspun Project
In case you're wondering, I named the yarn (and thus the cowl) Foxes and Fireweed because of the colours in the roving braid itself.  It was dyed by a local artist, and it just makes me think of foxes darting around a roadside teaming with fireweed on a sunny summer day.  Ridiculous imagery, maybe, but a common one here in the Yukon.  :)

First Handspun Project
Now that I'm finished with this project though, my fingers are itching to spin some more.  Though I'm taking another class tomorrow with this same instructor - this time on frame loom weaving - so it might be a while before I do so.

When was the last time you learned a truly new skill?  I feel like it's been yonks for me.

Monday, June 20, 2016

Exciting New: Now Live!

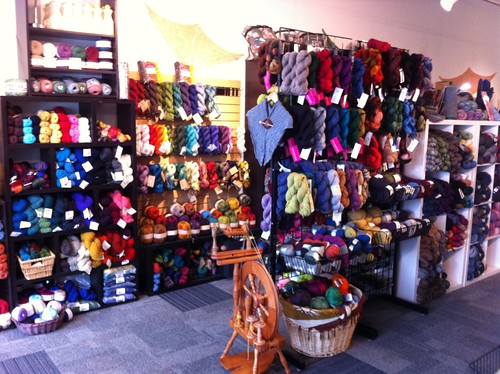
Guys, I just bought a lot of yarn.  Like...a lot.  As in, an entire store's worth of yarn.

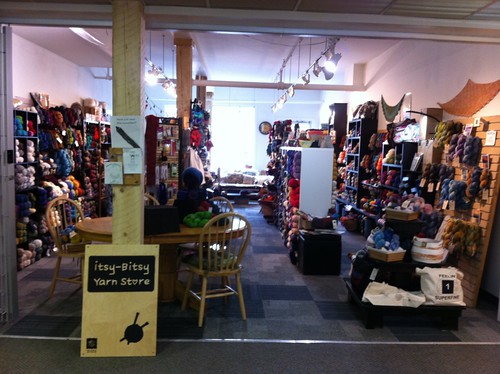
Itsy-Bitsy Yarn Store
THAT'S RIGHT FOLKS!  I'm now the proud owner of the Itsy-Bitsy Yarn Store in Whitehorse, Yukon!

Itsy-Bitsy Yarn Store
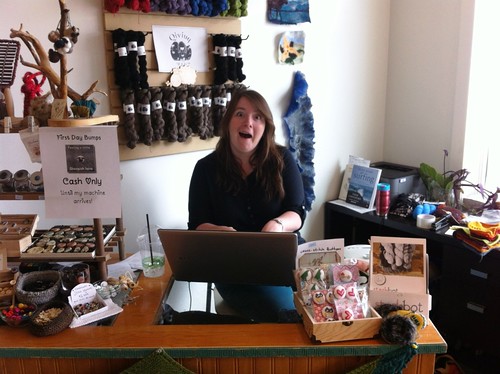
That is totally the face of a serious and experienced shop owner, right there.  

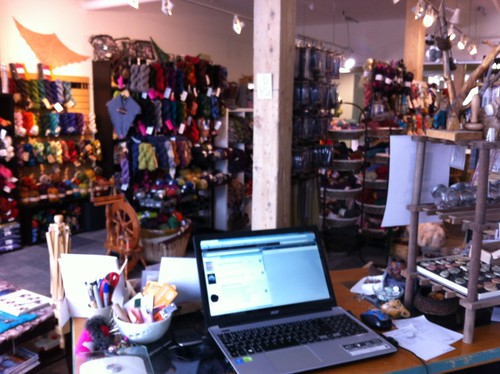
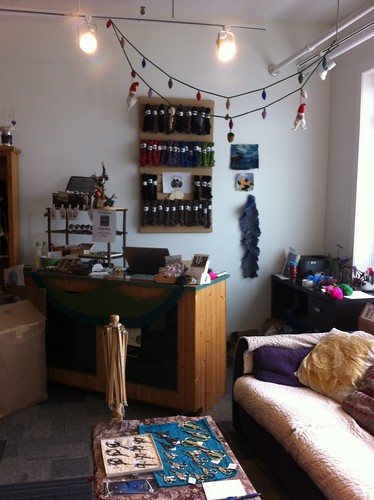
I officially took over the business this morning, and opened the doors to chaos and confusion as the former owner ran out the door to catch her flight about 3 seconds after we signed all the final documents, and I was left with a float all over the coffee table, paperwork all over the couch, yarn strewn everywhere, a crowd of tourists pushing to get in, and no debit/credit machine to be found.  It was a glorious!
Itsy-Bitsy Yarn Store
Luckily I've been actually working in the store all week so I wasn't completely in the dark, and everyone were so patient and understanding.  I even charmed a slightly grumpy lady from Chicago, who left the shop smiling despite the hassle of not being able to accept credit cards.  GO ME!

Itsy-Bitsy Yarn Store
How did this happen, you ask?  Well, back in February, I was facing my government job running out in June and trying to decide if I should apply for more jobs I'm capable and very competent for but not necessarily qualified for or retraining.  (As it turns out, there's just not a demand for less-experienced geos who aren't willing to relocate.)  Then an email from the LYS owners landed in my email.  And there might've been some hyperventilating after reading that they were looking for a buyer, because YES OMG YES.  A VERY immediate response, a whole whack of meetings, and months and months of business plan writing and some last minute panicking yielded this!

Itsy-Bitsy Yarn Store
Guys, it's been SO HARD to keep this under wraps, and it's entirely the reason behind all of the 'ZOMG SO BUSY' comments here and there.  Holding down a full-time and very mentally exhausting job while also trying to plan for purchasing a business is HARD holy cow.  I've nearly spilled the beans so many times, but it's been a bit tenuous and uncertain and I didn't want to jinx it!


Don't worry, this won't become a store blog.  I'll be posting just as irregularly as usual about all the stuff I make (and I've really got to get some rock posts up here - the title is starting to become false-advertising), they just might host better lit pictures within the shop, and possibly some comments about being a store owner.  

I will be starting up a separate store blog though (still hammering out what I want it to be), but I'll let you know when that goes live in case you want to follow along. 

' Itsy-Bitsy Yarn Store
I'm so excited about this adventure.  I've wanted something like this since I was a kid, but never thought it could become a reality! It's only starting to sink in that it's real, and while the panic I sort of expected is present, I feel so much at home at the store and like it's exactly where I'm supposed to be.

Itsy-Bitsy Yarn Store
Granted, that doesn't mean I'm not feeling a little crazy right now!

Itsy-Bitsy Yarn Store
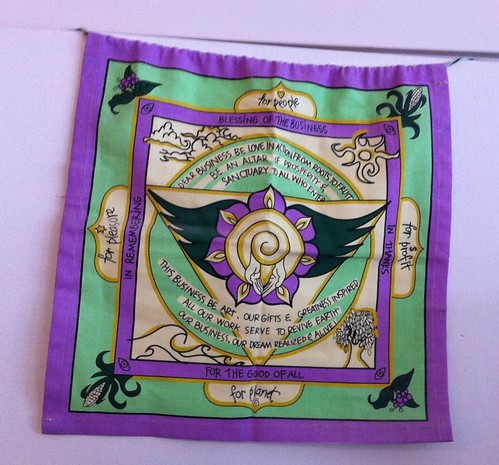
Look what Sophie, the former owner left me!  (She's the one for whom I made the little going-away gift.) She said she got it when they first opened up in their original 138 sq foot location (can't really get more itsy-bitsy than that) as a blessing for the shop, and she decided to pass it on to me to keep up the blessing. That little banner is hanging up on the tiny storage closet behind a screen, and it's going to stay there for as long as I'm in that space! Isn't it lovely?

Anyways, I'm not sure how to end this. My heart is so full right now, and I feel so thankful to have this opportunity. I'm looking forward to the hard work it's going to take to keep this adorable little shop going, and I can't wait to give back to the community like Sophie and her husband did before me.

Wish me luck, folks! I'm going to need it.

Wednesday, August 05, 2015

Yarn Dyeing with Onion Skins

Yarn Dyeing with Onion Skins
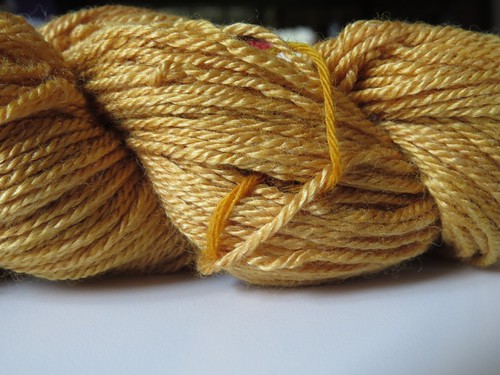
Hey look, I dyed yarn with onion skins!  This is such an easy dyeing experiment and one that a lot of beginners use.  I probably should've started with this before indigo, but oh well!

Yarn Dyeing with Onion Skins
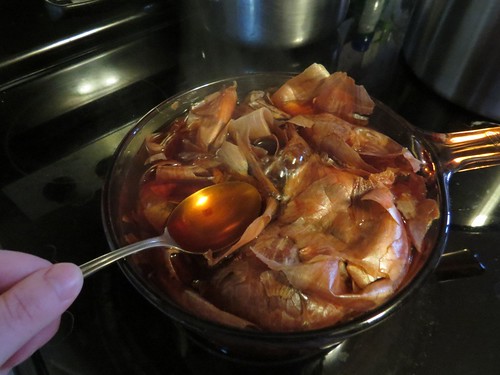
I basically raided the new bag of onions plus all of the older skins that's been collecting at the bottom of our random veggie/fruit bowl for ages, weighed them out for giggles (25 g, btw), then dumped them in my new-to-me glass dye pot, topped it up in water, and simmered all the colour out of it...for hours.  Oops.

I used some undyed Mirasol Yarn Nuna that my LYS owner recced for dyeing.  It's this super soft merino wool/silk/bamboo, and I can't wait to use it up, it's so lovely to touch.  I scoured it with a few other skeins of yarn and did an alum mordent.

Yarn Dyeing with Onion Skins
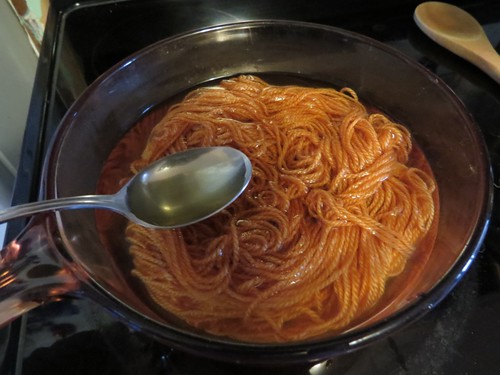
After the dye bath cooled, I added the yarn and warmed it up again to a simmer for a while (sorry, can't remember how long), then let it cool and sit overnight.  By the time I pulled it out of the water, the yarn had absorbed most of the colour!

Yarn Dyeing with Onion Skins
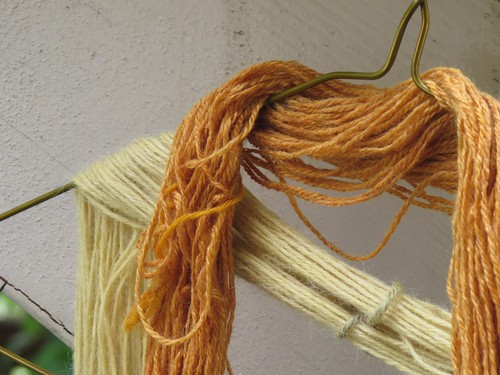
I rinsed the yarn for a while before giving it a vinegar rinse.  After a final mild-soap bath, I pressed out the water and let it dye outside, with another dyed yarn I'll tell you about soon.  :)

Yarn Dyeing with Onion Skins
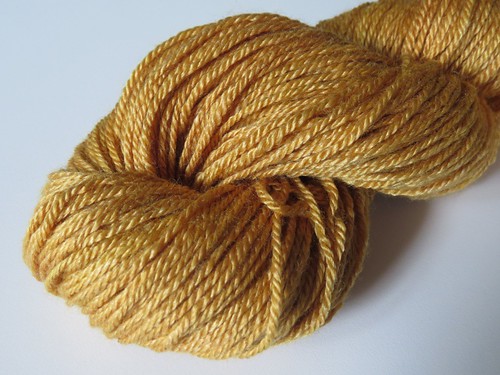
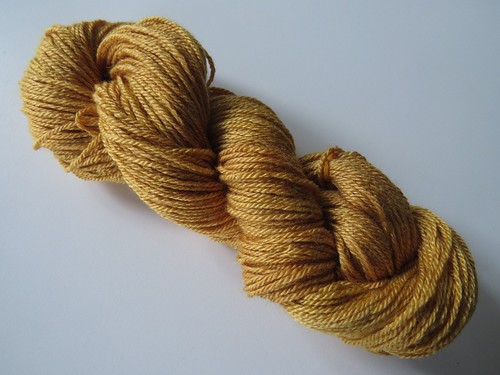
And this was the result!  Orange isn't a colour I gravitate to, but I really love how it turned out.  I even know what I'm going to make with it!


Holla Knits is doing another KAL (several of them actually, but here's one that I'm joining), and I'm going to make up the Francisco Cowl by Allyson Dykhuizen!

Yarn Dyeing with Onion Skins
One more note about the onion dye.  Look at how the 100% yarn I used to tie off the skein.  SO ORANGE.  I finally broke and bought a ton of undyed yarn from Knit Picks, and I'm really looking forward to experimenting with it.

*~~*~~*~~*~~*


Guys, I have a ton of posts to write and much less time to write them in now.  I'm not complaining though, since it's because I started a new job last week!  It's a temp position that'll go until the end of the year, but I like the work and, more importantly, it's a job.  Actually, two jobs, because I just found out that I got the distance ed teaching position I applied for at my undergrad university!  WOOHOO.

I'll try to get these posts out soon, because I have something exciting coming up for you all real soon!

Sunday, July 26, 2015

Dyeing Yarn with Black Beans

Yarn Dyeing with Black Beans
So uh, definitely enjoying the natural dyeing!  I read a few blogs where they'd managed to get blue (apparently a more difficult colour to get with natural dyes) using black beans.  Obviously I had to try!  I dumped a bunch of beans (about 4 cups?) in a bowl with enough water to cover the beans by about 2 inches, then left them alone to steep for 12 hours, stirring often.  It was interesting to watch the liquid change - first turning a light blue, then a deep shade of blue/purple, and eventually almost a deep green-blue.  As others have mentioned, the beans swell up a lot, so you have to make sure there's enough water in there.

Black Bean Dyeing
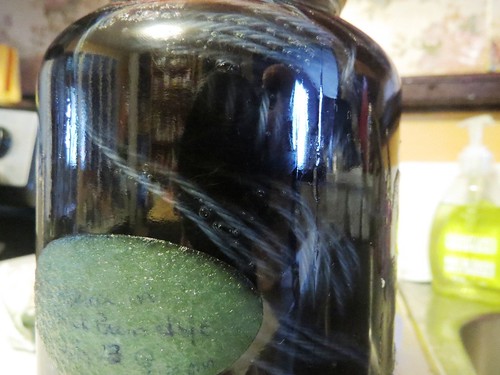
After straining out the liquid, I left it alone for a couple of hours to let the finer particulates settle out, and then I gently scooped out the liquid into a jar.  Dumped my already scoured and alum mordented yarn into the jar, sealed it up, and left it alone for a while.

And then after 36-ish hours, the liquid seemed to swell a bit, because boy did it start to leak out of my not-so-sealed jar and now I have blue dye all over the open shelves and floor below where I stored it.  That's about when I decided to pulled the out the yarn.

Black Bean Dyeing
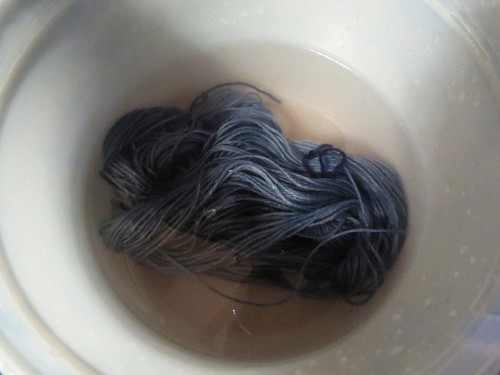
It looked a lot darker when I pulled out the yarn, but a lot of the dye washed out.  It kept shedding dye until I gave it a vinegar bath, which seemed to halt the bleed.  And weirdly, turned the water purple.  I sort of want to play with this dye source some more and see what happens at different pHs.  This blogger got a gorgeous shade of blue GREEN with more acidic well water, which I suspect also had a healthy dose of iron oxide in it too.  (I hope that link works - it did as of yesterday, but it's giving me a hosting error right now).

Yarn Dyeing with Black Beans
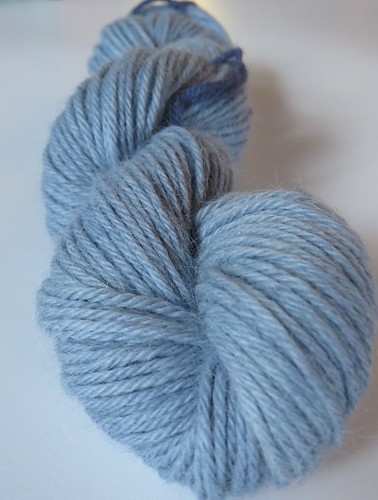
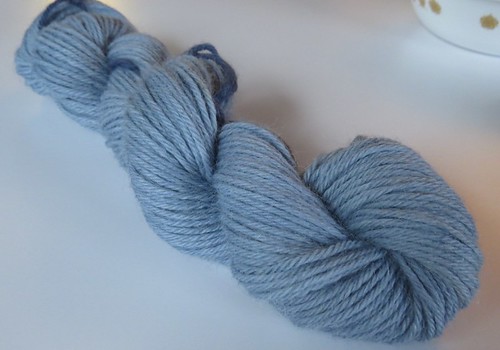
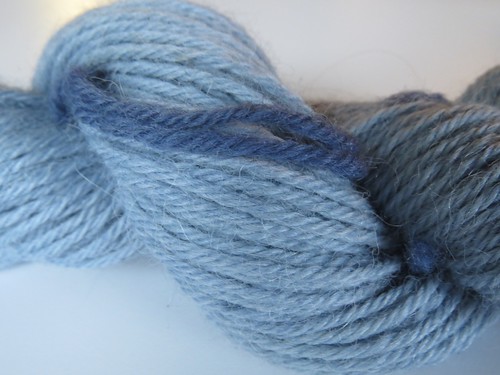
I used a skein of undyed Earth Collection Nova, which is a 100% alpaca in DK weight.  The final result wound up being a gorgeous light shade of silvery blue. 

Yarn Dyeing with Black Beans
Obviously fibre plays a big roll in dye uptake, since the 100% wool yarn I used to tie off the skein turned a really appealing shade of dark blue.  I definitely want to use wool for this dye bath again!

Black beans...who knew!

Saturday, July 25, 2015

Today was a Creative Day! (and apparently a cleaning day...ick)

I've had a very busy day today.  Besides thoroughly cleaning the snot out of the living room (not literally) and helping the Boyfriend with the rest of the house, I pulled out some yarn sitting in a natural dye pot for the last few days...

Black Bean Dyeing
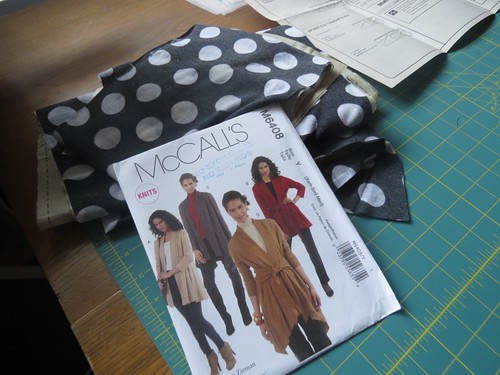
...tidied the sewing room and then messed it up again with a sewing project...

wip: Spotted Cardi
...added a pompom to a nearly finished hat (no photo)...

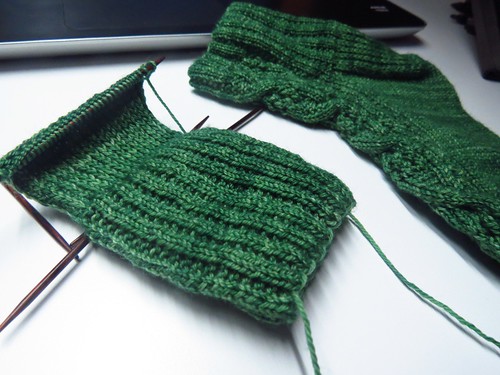
wip: SpringTastic Socks
...and made some decent progress on a sock.

Pretty good day in my books!  Now lets see if I can get this heel turned before I hit the sack, eh?

Monday, July 20, 2015

Dyeing Yarn with Indigo

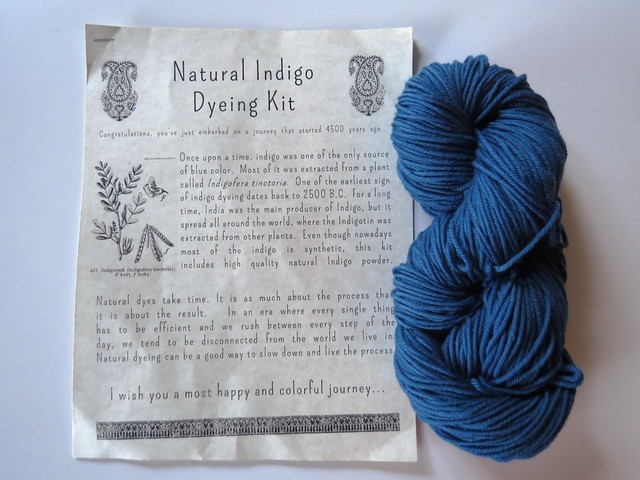
Indigo Dyeing Kit
So uh, I might've found a new hobby.  Related hobby?  Let's go with that.  Remember a while back when I showed you what the owner of the Itsy Bitsy Yarn Store sent me home with?  Well, I decided that I wanted to try out yarn dyeing, but needed my hand held first.

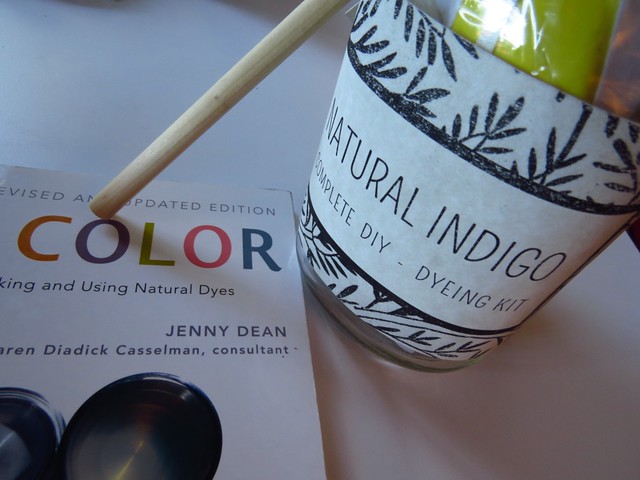
Indigo dyeing kit
So I bought her indigo dyeing kit (and a book, but that's for another day).  And had a lot of fun this weekend.  The method used in indigo dying is different than other natural dyes, but the info booklet that came with the kit walked you through it beautifully, and it was nice to have good results right off the hop.

Here's a series of pictures of my adventure this weekend:

Indigo Dyeing Kit
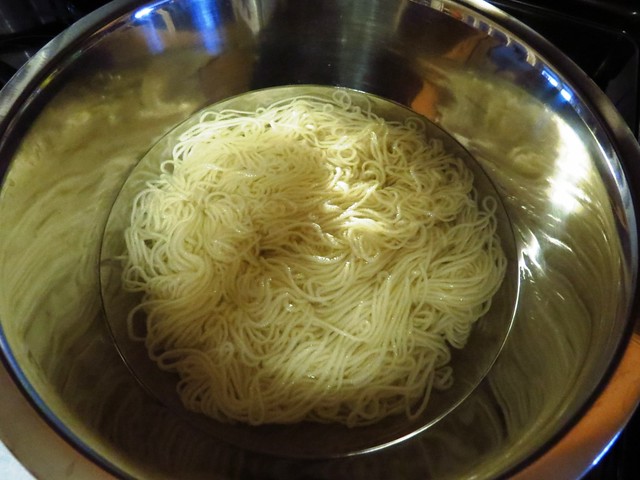
After scouring the yarn (cleaning it). I was scared I'd have a tangled mess, but the loose knots held the skein together.

Indigo Dyeing Kit
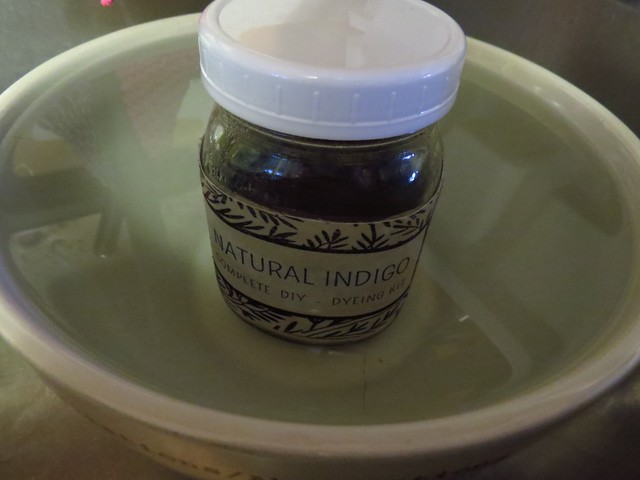
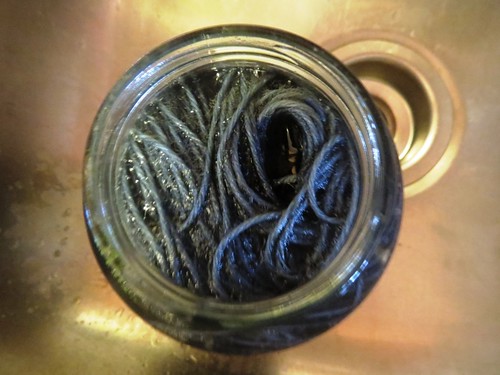
Indigo stock, resting for an hour in a warm bath.
Indigo Dyeing Kit
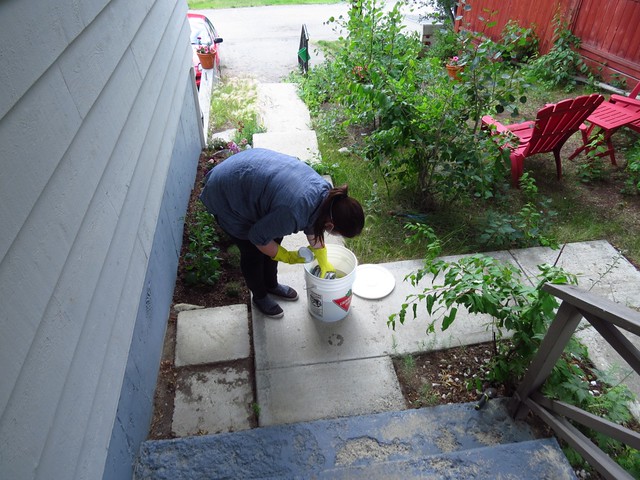
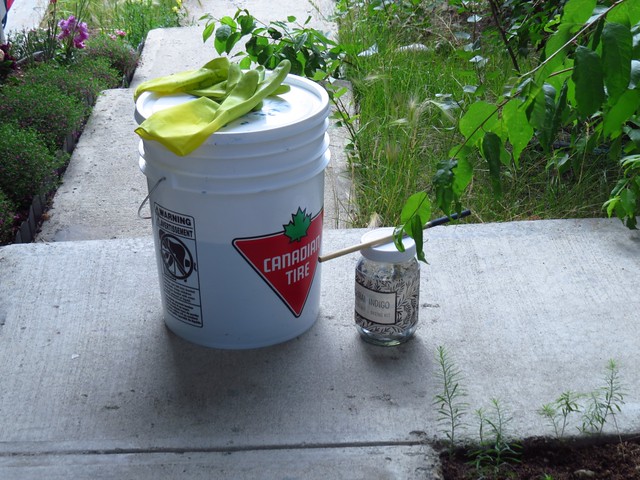
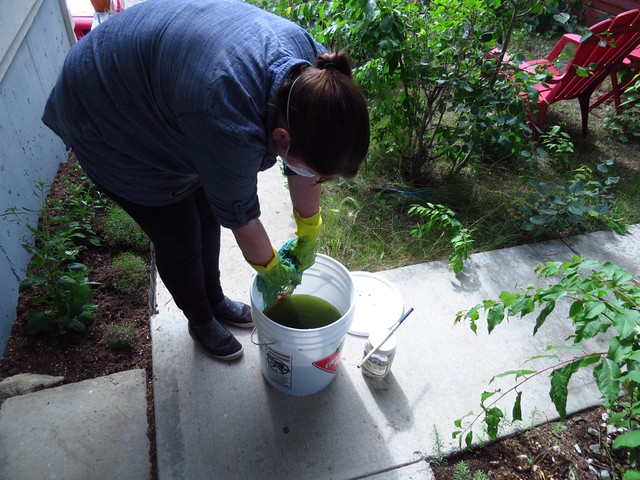
Gently pouring the stock solution into the dye bath, trying to reduce bubbles as much as possible.  One of the chemicals added to both the stock and the bath is Thiourea Dioxide, which removes the oxygen from the water (and I think produces hydrogen sulphide, because boy does it reek of rotten eggs).  This is the only way that the indigo dye will bond with the fibre, so you have to make sure there's no added oxygen to the bath.
Indigo Dyeing Kit
Dye bath, chilling out on my front step for an hour.
Indigo Dyeing Kit
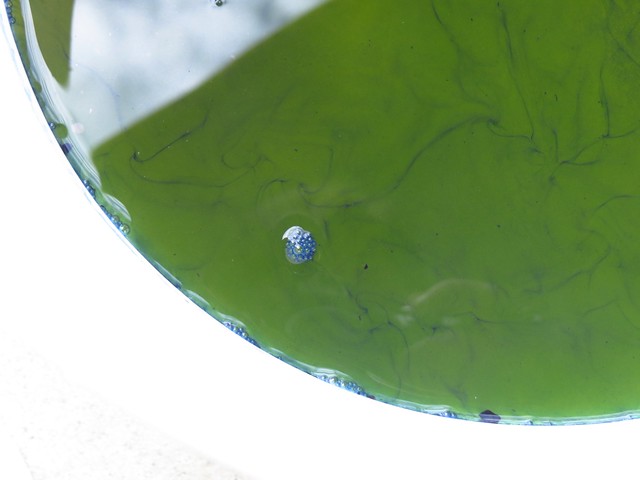
The dye bath itself is a yellow-green colour, but you can see where accidental air bubbles have oxidized the water blue.
Indigo Dyeing Kit
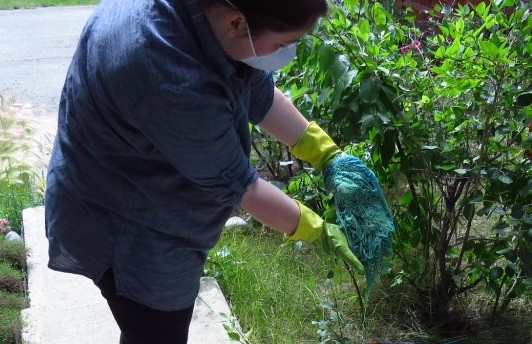
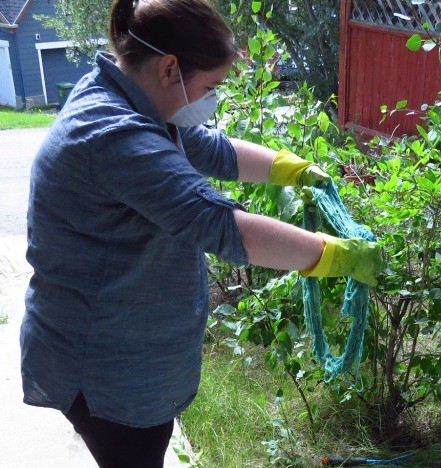
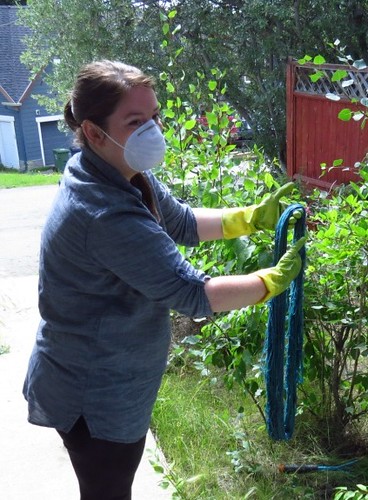
Pulling out the yarn after it's first dip.  Hard to see, but it came out a light green shade at first. 
Indigo Dyeing Kit
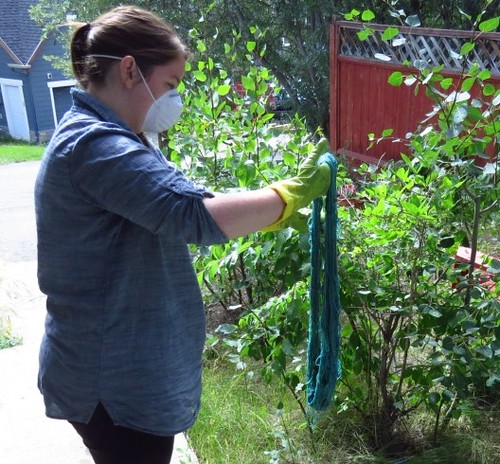
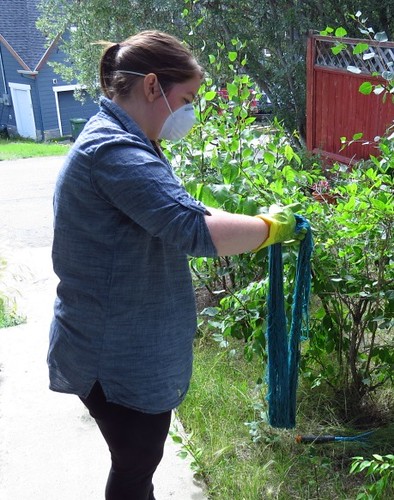
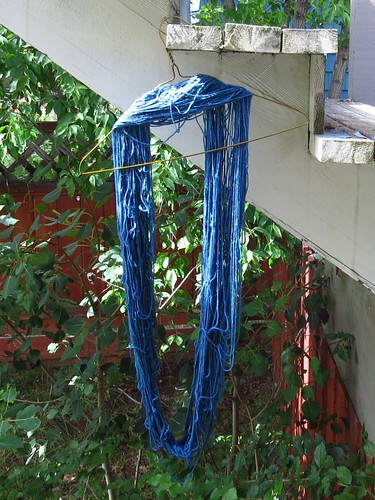
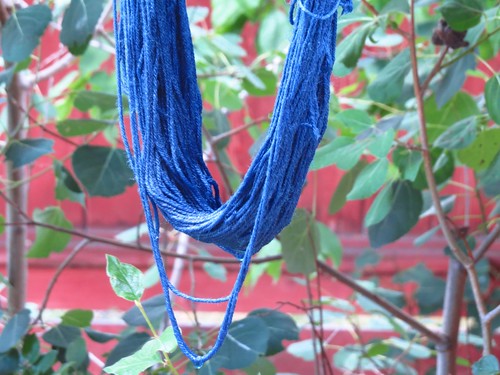
But this is where the magic happens, where exposure to oxygen turns it from green to blue!
Indigo Dyeing Kit
Light blueish green...
Indigo Dyeing Kit

Indigo Dyeing Kit

Indigo Dyeing Kit
...to blue!

Indigo Dyeing Kit
And here it is after it's first dip.  It looks dark, but if I'd rinsed it and let it dry, it'd be a lot lighter.
Indigo Dyeing Kit
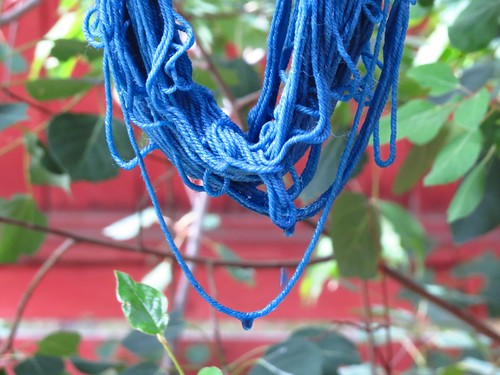
Close up of the still-saturated bottom loop after the first dip.  I wanted a deeper blue, so put the yarn back into the bath for another 30 minutes. 
Indigo Dyeing Kit
Here it is after it's second dip.  Deeper, and a gorgeous shade, but I wanted to try for something even darker, if possible.
Indigo Dyeing Kit
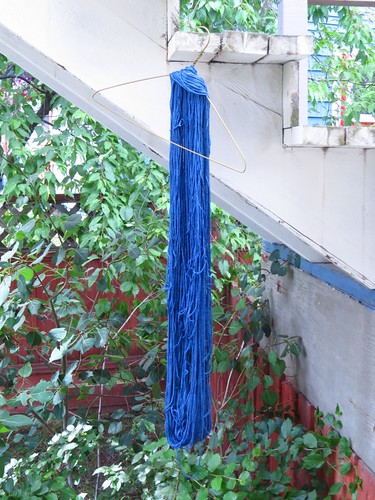
And here's the yarn after it's 3rd dip.  It's hard to tell in these photos, but you could just see the dye sinking deeper into the yarn with ever dip, and I knew it'd stay this deep after rinsing this time.
Indigo Dyeing Kit
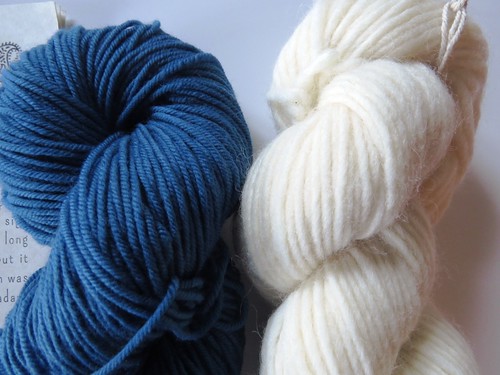
Here's a comparison, sort of a before and after photo.  The yarn on the right is the same shade that I started off with before dyeing.
I am seriously in love with the results.  Don't know yet what I'm going to knit it into, but I'm sure I'll find something.  The whole process was labour intensive, but so much fun, and I want to experiment more.  There's so many plants around - even in my back yard - that I could use, and I want to try it all! 

Because of course I need more yarn.  And another hobby.  :)

Have you tried your hand at dyeing, and specifically natural dyeing?  Willing to try out indigo dyeing after seeing my stunning results?